

Originally it was my dream to spend less than $100 on the coop - using primarily reclaimed and free materials. But, according to my builder husband, that cannot be accomplished easily if you want a sturdy, well-insulated, properly built building.
Fortunately, we happened upon a "neighbor" {We country folk use that term loosely, as in our situation he was about 5 miles away.} who was tearing down his barn and allowed us free reign to take whatever we could safely harvest. We took beams and boards and other miscellaneous items we thought we could use. Then we had the good fortune of having another neighbor offer us some corrugated tin roofing for free. The windows I had acquired for little cost through Craigslist {love} and the incredible door was a freebie from a job site. {We get lots of "That's nicer than my front door!" comments.}
 |
| My stud-muffin of a husband pouring concrete. |
 |
| The beams and reclaimed wood going up. |
improvement stores} on the lower portion of the walls to make scrubbing and cleaning easier. The lumber for the next boxes was stuff we had in storage, as were the hinges, latches, etc. We had the chicken wire already, and the interior screen door was another job site freebie.
Whew!

You can see the construction process started in the early spring/late winter. Of course, like any project started at our house, it took way way way longer than it should have.

The snow melted and the coop continued to take shape. I kicked things into high gear by ordering chickens prior to the coop's completion. {we work best under pressure}

 |
| The coop before the siding went on. |

I allowed my husband free reign on the design, with only minor consults from me. Being a designer at heart, this was hard to be hands off. I think it worked out ok. We were going for a rustic, Little House on the Prairie, been-here-since-the-1800's look. I think we achieved that.
Now, the extras! Remember when I said it was a poo-free environment? Well, even letting them out in the morning is a clean affair!

Our last addition was this "Maternity Ward" as my husband calls it. We built it to house the ma hen and her chicks while they were still teeny tiny and could get hen-pecked. It will also be used in the event that we have a sick bird that needs to be quarantined, a broody hen that needs to be broken of her cycle, or a fresh batch of chicks that cannot be incorporated into the flock yet.

 |
| The silkies seem to like it in there, even though they belong in the regular coop. |
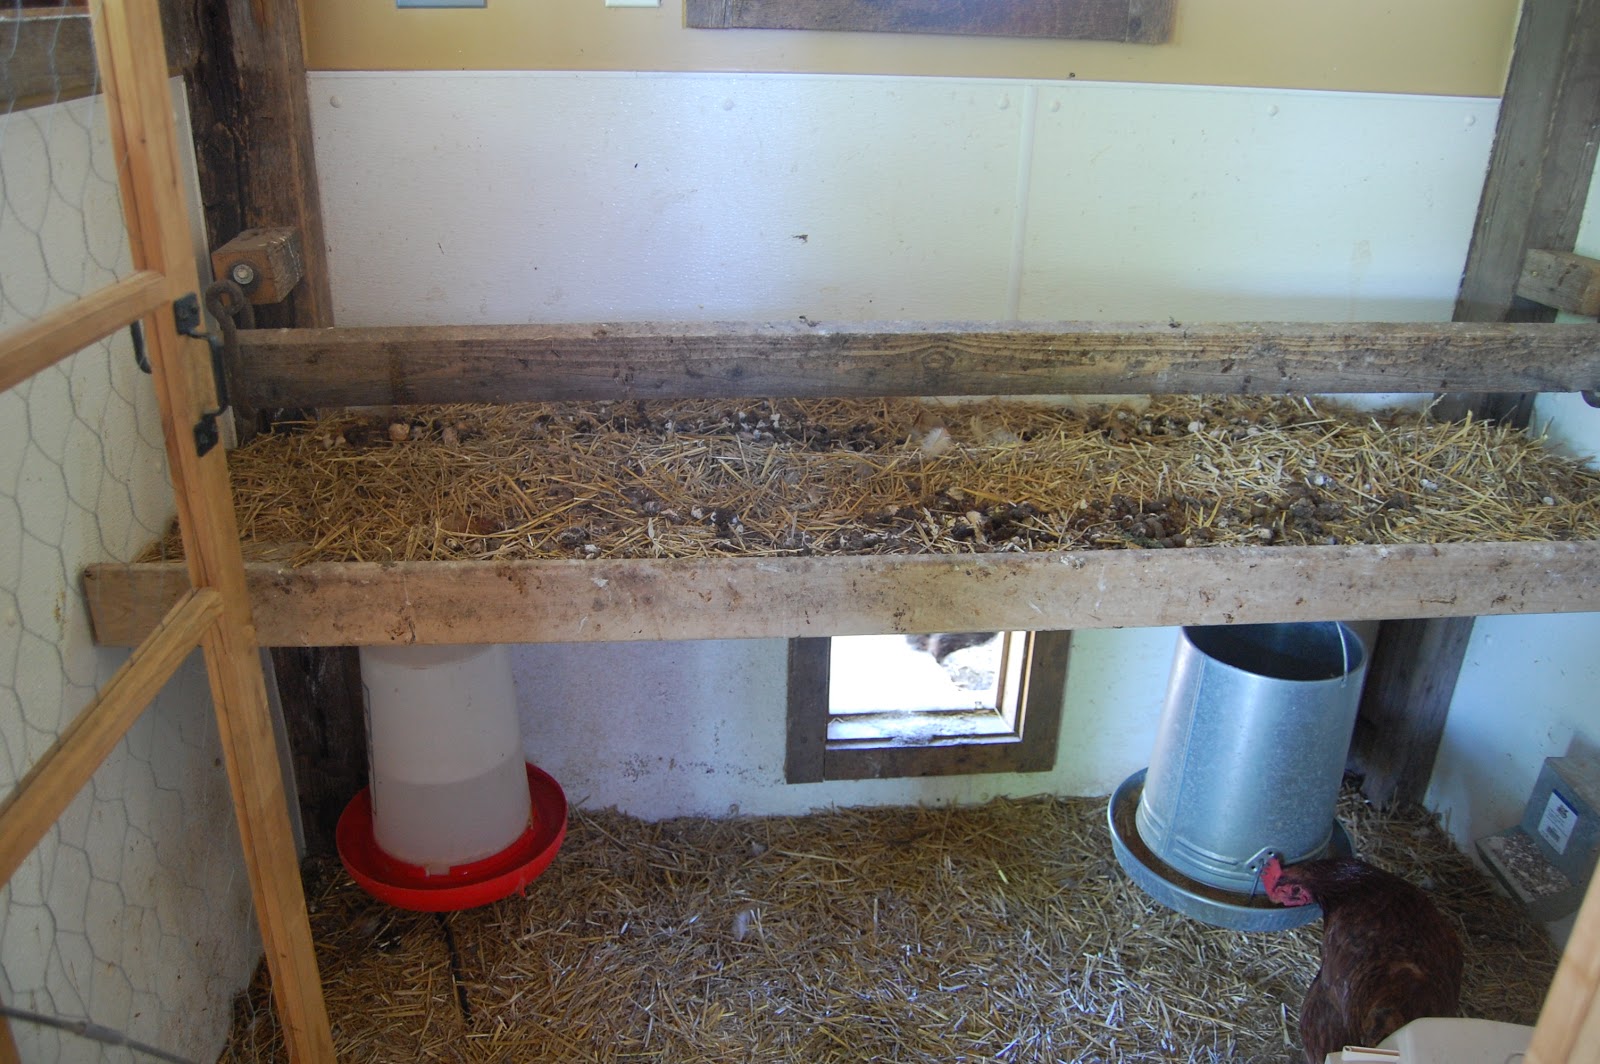
Inside we built a roost and droppings board that are removable for ease of cleaning/scraping. We hung the waterer and feeder underneath to keep them clean.
And finally, some of the little extras we added... just because we could.
 |
| Our outdoor roost. |
 |
| Why, a window box of course. |
 |
| A closeup of the infamous door. |
 |
| The porch rafters. |
 |
| Our heat lamp contraption. |
 |
| And some little extras! |
2 comments:
The neatest coop I've ever seen. Your husband did a great job. So how long did it take to complete?
It was a drawn out process over the course of a year Debbie. We have so many projects going on that once it was functional for the chickens we pushed aside getting the "fun stuff" done until now!
Post a Comment